balenaEtcher is a graphical utility for writing operating-system images to USB flash drives and SD cards. Its main advantage is simplicity: select the image, select the destination, flash, and validate.
It is especially useful for .iso and .img files that are designed to be written directly to a block device. Etcher is developed by Balena and its source code is published under the Apache 2.0 license.
balenaEtcher 2.1.7: current release
As of October 5, 2026, the current stable version is balenaEtcher 2.1.7, released on September 18, 2026.
The project currently lists support for:
- Windows 10 and later, x86-64;
- macOS 10.13 and later, on both Intel and Apple Silicon;
- GNU/Linux on most distributions, x86-64.
Official downloads are available from:
The release page provides Windows installers, Debian/Ubuntu .deb packages, RPM packages, macOS builds, ZIP archives, and SHA-256 hashes for release assets.
Installing Etcher
Windows
Download the signed installer from the release page or install it with WinGet:
winget install Balena.EtcherDebian and Ubuntu
Download the current .deb package and install it with:
sudo apt install ./balena-etcher_2.1.7_amd64.debFedora and other RPM-based systems
Balena also publishes an x86-64 RPM package for current releases.
macOS
Separate builds are provided for Apple Silicon and Intel. Download the package that matches the Mac’s CPU architecture.
Before creating the USB drive
You need:
- the ISO, IMG, or supported operating-system image;
- a USB flash drive or SD card large enough for the image;
- balenaEtcher;
- a backup of anything important currently stored on the destination device.
The selected target will be overwritten. Always check the device name, model, and capacity before flashing.
Verify the downloaded image first
If the operating-system project publishes a SHA-256, SHA-512, or cryptographic signature, verify it before writing the image.
Etcher’s post-write validation checks that the data written to the target matches the source image it was given. That is useful for detecting write failures, but it does not prove that the source image itself is authentic.
Authenticity must be checked against hashes or signatures published by the original project.
1. Open balenaEtcher
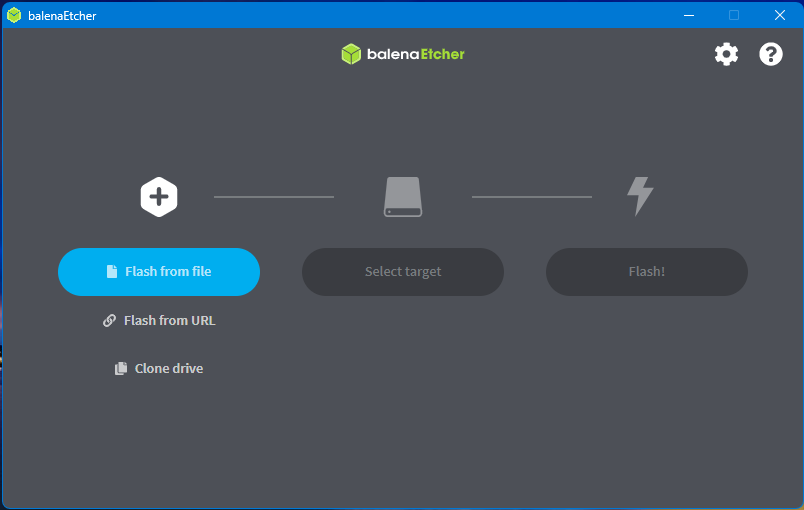
These screenshots come from an earlier Etcher release, but they still illustrate the same sequence used by current versions.
2. Select the image
Choose Flash from file and open the image you want to write.
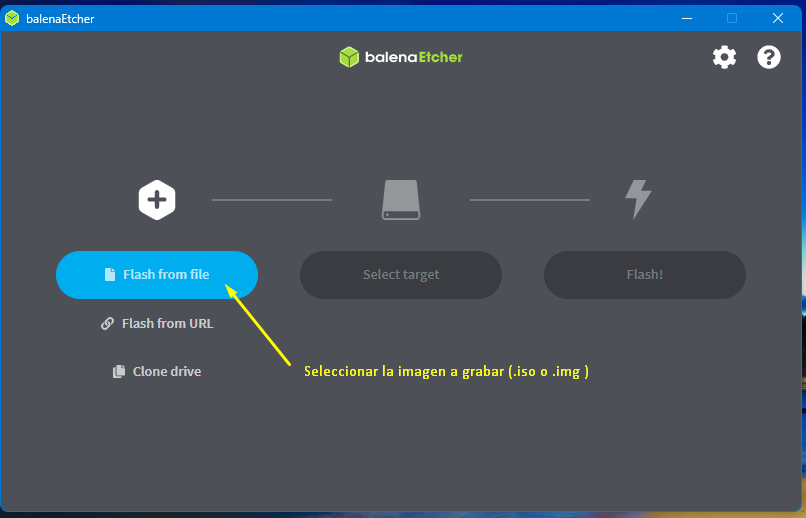
Etcher works particularly well with hybrid ISO images, raw IMG files, Raspberry Pi images, Linux distributions, recovery systems, and appliances whose publishers instruct users to write the image directly to removable media.
Important: Windows installation ISOs need special treatment
Etcher’s own documentation explains that it writes images byte for byte without transforming their internal layout.
That behavior is ideal for hybrid ISOs and raw images, but standard Microsoft Windows installer ISOs usually require additional preparation. Etcher may write the ISO successfully while producing a USB device that does not boot.
For Windows installation media, use a tool designed for that format, such as:
- Rufus on Windows;
- WoeUSB on GNU/Linux;
- Microsoft’s official media-creation tools when available for the Windows release in question.
3. Select the target USB drive or SD card
After choosing the image, click Select target.
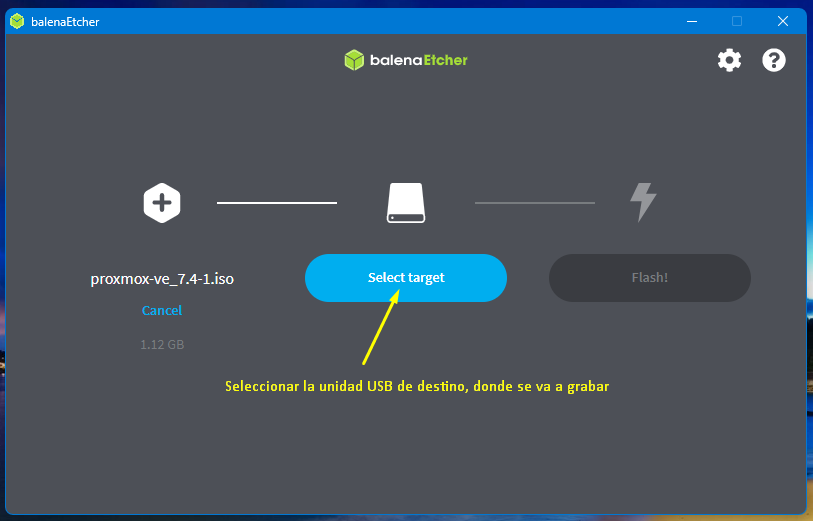
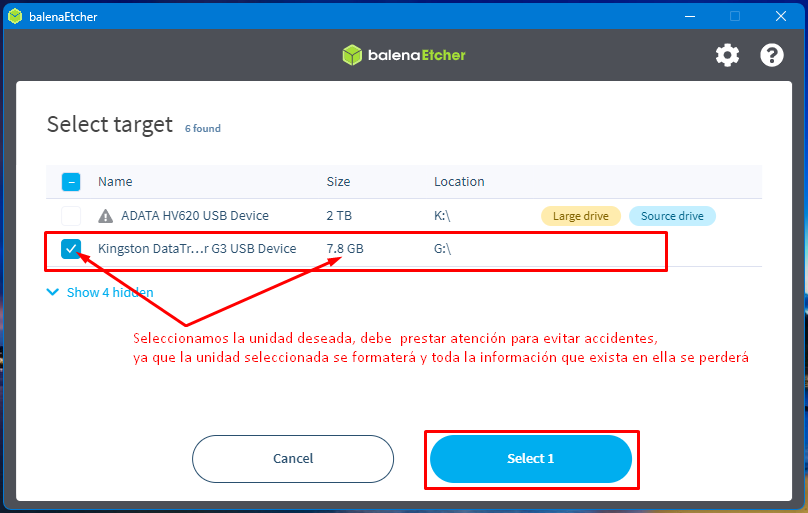
Etcher tries to protect internal system drives from accidental selection, but you should still verify the target manually. If several removable drives are connected, disconnecting the ones you do not need reduces the chance of a mistake.
4. Start flashing
Once the source and target are correct, click Flash!.
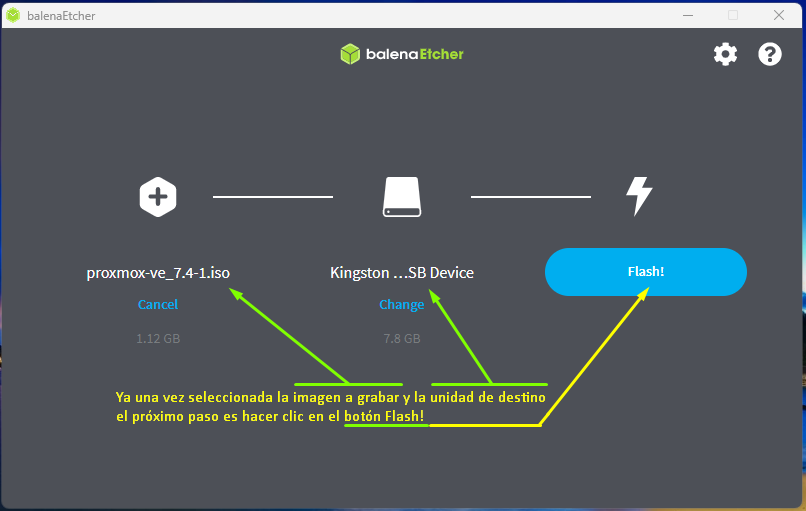
The operating system may request administrator authorization because Etcher needs direct block-device access.
5. Wait for the write operation
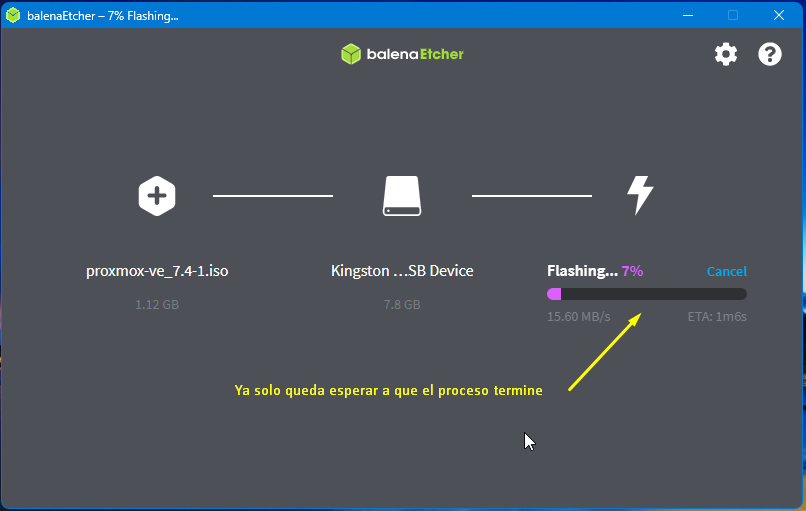
Do not remove the device while writing. Performance depends on the USB interface, flash-media quality, image size, and host storage.
6. Let Etcher validate the result
After writing, Etcher normally reads the target back and compares it with the source image.
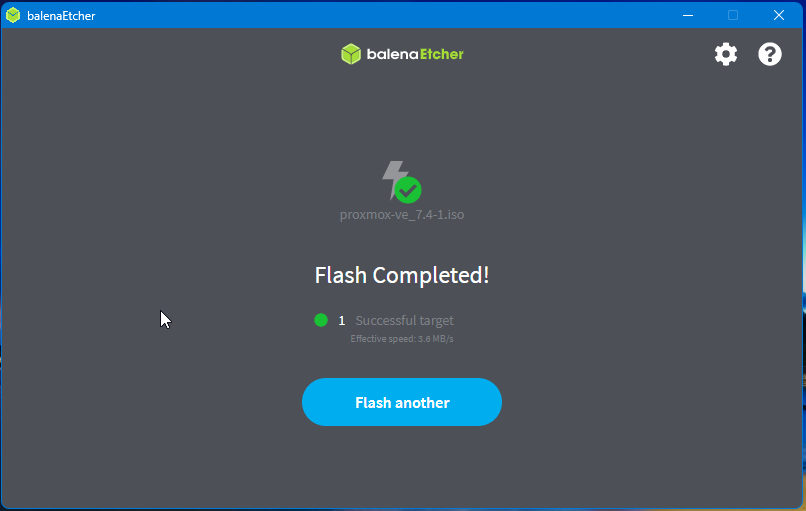
If validation repeatedly fails, try another USB port, another flash drive, or verify the original image checksum.
7. Boot from the USB device
Restart the target computer and open its BIOS/UEFI boot menu. Common keys include F12, F11, Esc, and F8, but there is no universal key.
If the USB appears twice, one entry may represent UEFI boot and the other Legacy/CSM. On modern systems, prefer UEFI when the image supports it.
Why does Windows ask to format the drive afterward?
After flashing Linux, pfSense, Proxmox, or another operating-system image, Windows may encounter partitions or filesystems it cannot read and offer to format the device.
Do not format it if you still need the USB to boot.
The image may have created multiple partitions, a special GPT/MBR layout, or non-Windows filesystems. This is normal and does not necessarily indicate a failed flash.
Restoring the USB drive to normal capacity
When you no longer need the bootable media, delete the image’s partitions and create a new partition using the full drive.
Windows Disk Management can do this in many cases. On GNU/Linux, tools such as GNOME Disks, KDE Partition Manager, or GParted can recreate the partition layout.
Be careful: deleting partitions from the wrong disk can destroy system data.
Etcher does not create persistent Live USB storage
Another important limitation is that balenaEtcher does not configure persistent storage for a typical Linux Live USB.
If you need changes and files to survive reboots in a Live environment, use a tool or distribution-specific procedure that explicitly supports persistence.
Etcher vs. Rufus vs. Ventoy
| Tool | Best use | Main advantage |
|---|---|---|
| balenaEtcher | Hybrid ISO/IMG, Linux, appliances, SD cards | Simple workflow and validation |
| Rufus | Windows and configurable boot media | UEFI/BIOS and advanced options |
| Ventoy | Multiboot USB | Copy multiple ISO files without reflashing the whole drive |
Etcher is an excellent choice when the image publisher says the image can be written directly. Windows installation media and multiboot use cases are better handled by specialized tools.
Etcher with pfSense and Proxmox VE
Etcher has historically worked well with directly writable images from projects such as Proxmox VE and with earlier pfSense installation media. Always follow the instructions for the specific version being installed.
Current pfSense releases use the Netgate Installer, while our historical pfSense CE 2.6.0 guide documents the older ISO and Memstick workflow.
Common problems
Etcher does not show the device
Reconnect the drive, try another port, and confirm that the operating system can see it. On GNU/Linux, Etcher also needs a working Polkit authentication agent to request elevated permissions.
The flash succeeds but the computer does not boot
Confirm that the image supports direct writing, verify its hash, check UEFI versus Legacy boot, review Secure Boot requirements, and make sure the image architecture matches the target hardware.
Validation fails
Try another port or another USB drive. Failing flash memory may appear to accept data but fail when Etcher reads it back.
The USB looks smaller after flashing
The operating system is seeing the partition table embedded in the flashed image. Repartition the drive when you want to return it to ordinary storage use.
Security: download from original projects
Bootable media runs software before your normal operating system starts. Download Etcher and operating-system images only from official projects or trusted mirrors.
Avoid download portals that repackage installers. Verify published hashes or signatures whenever the project provides them.
Official sources
- balenaEtcher official website
- balenaEtcher official releases
- balenaEtcher source code and documentation
- balenaEtcher official FAQ