
In this article we will see step by step how to install GNU Linux Debian 12 (Bookworm) in graphical mode and with the KDE desktop environment.
Why do we choose the KDE desktop environment?
The answer to this question is quite simple. Although there are many desktop environments for Linux within which we can mention Gnome, LXDE, Mate, XFCE, Cinnamon, to name a few examples, none of the above is as complete and customizable as KDE. Most Linux distributions come by default with Gnome, which is the most popular desktop environment in GNU Linux distributions, but it lacks advanced customization features, graphical environment applications for integration with the operating system, in this none aspect surpasses KDE.
In previous versions, users did not use KDE due to resource limitations or sometimes lack of knowledge. However, today the KDE Desktop Environment is as lightweight or lighter than other alternatives and is capable of running on low-resource computers.
KDE has visual themes, window themes, icon themes, cursor themes, widgets, boot screens, session manager screens, home screens, animations, gesture control, etc. You can even make your system visually look like a MacOS or Windows or better yet give it a unique appearance.
If you are a lover of customization and changing your entire system down to the smallest detail, then KDE is the desktop environment for you, if not, you can also customize it so that it is the most minimalist you can use, with KDE there are no limits .
For the installation we will use a DVD version ISO image (debian-12.X.X-amd64-DVD-1.iso) which can be downloaded from the following page:
https://cdimage.debian.org/debian-cd/current/amd64/iso-dvd/
Please note that in this example we will be installing on the amd64 architecture. If you want to install on a different architecture, you must download the ISO corresponding to your architecture.
We can do this installation on both physical equipment (Laptops, desktop PCs, mini-computers) and virtual equipment (Virtual Machines). If you want to install it on a physical computer, you can use a USB stick properly prepared with software to serve as installation media. Here are two links to articles that talk about these tools in case you need them.
Herramientas para preparar memorias USB para instalación o boot live CD (ISO a USB)
Preparar memoria USB con Balena Etcher
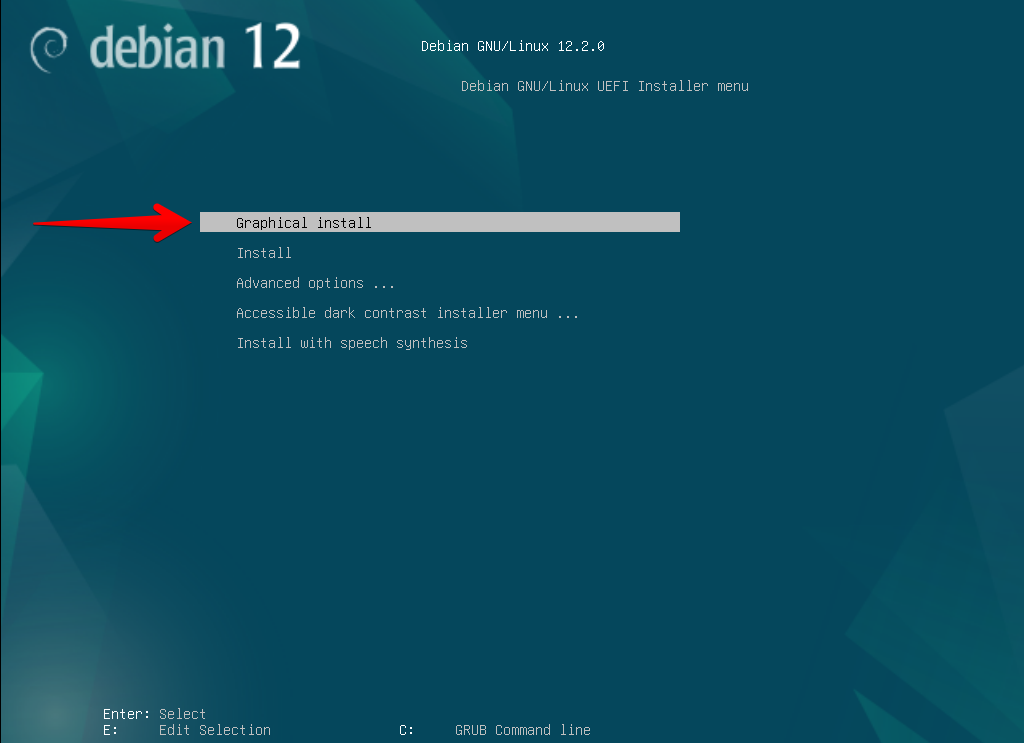
The first step is to make the computer where we will install start with the installation media. Once the computer boots, a screen like the following should appear, in which we will select the “Graphical install” option. You must pay attention and carefully read the messages displayed by the installation program so that everything goes correctly.
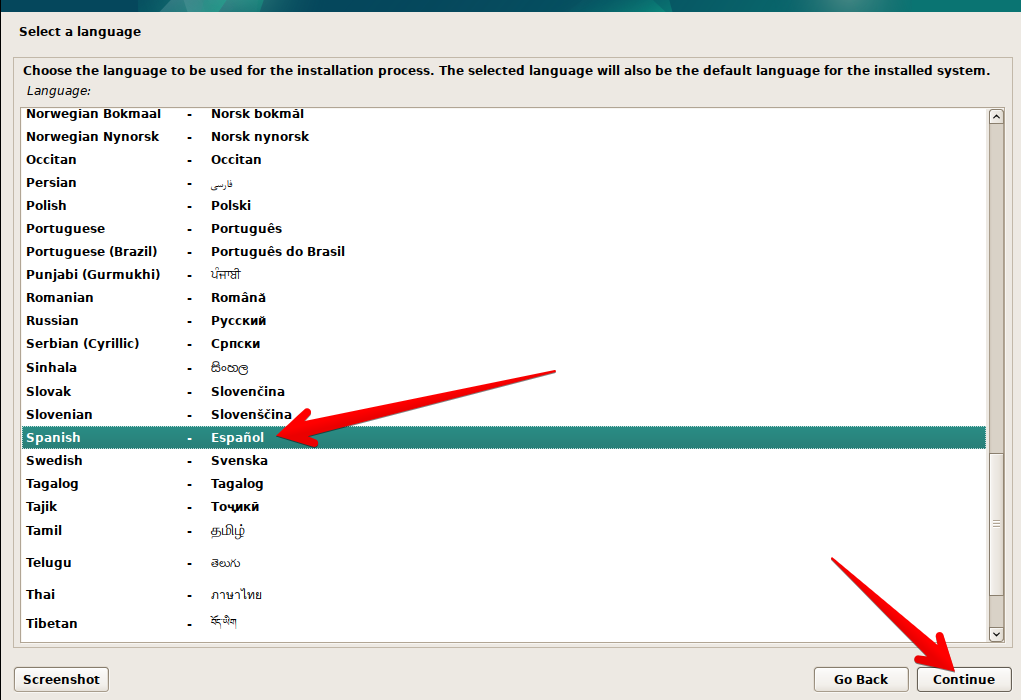
Next, the installation program will allow us to select the language, in our case we will select “Spanish – Español” in the list and click on the continue button
Next, the installation wizard will ask us for our geographical location. This data will be used to establish our time zone and regional settings, in our case we will select Spain, but you must choose yours

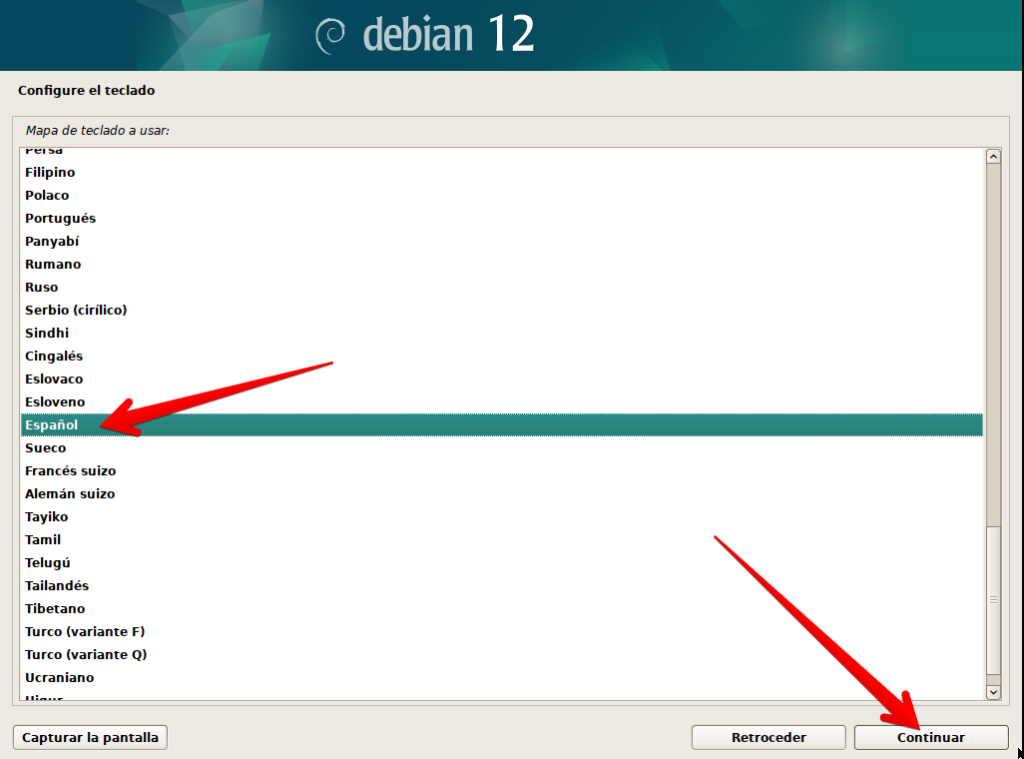
The next step is to select the language of our keyboard, depending on the keyboard you have, be free to select the option that suits your keyboard and click the continue button.
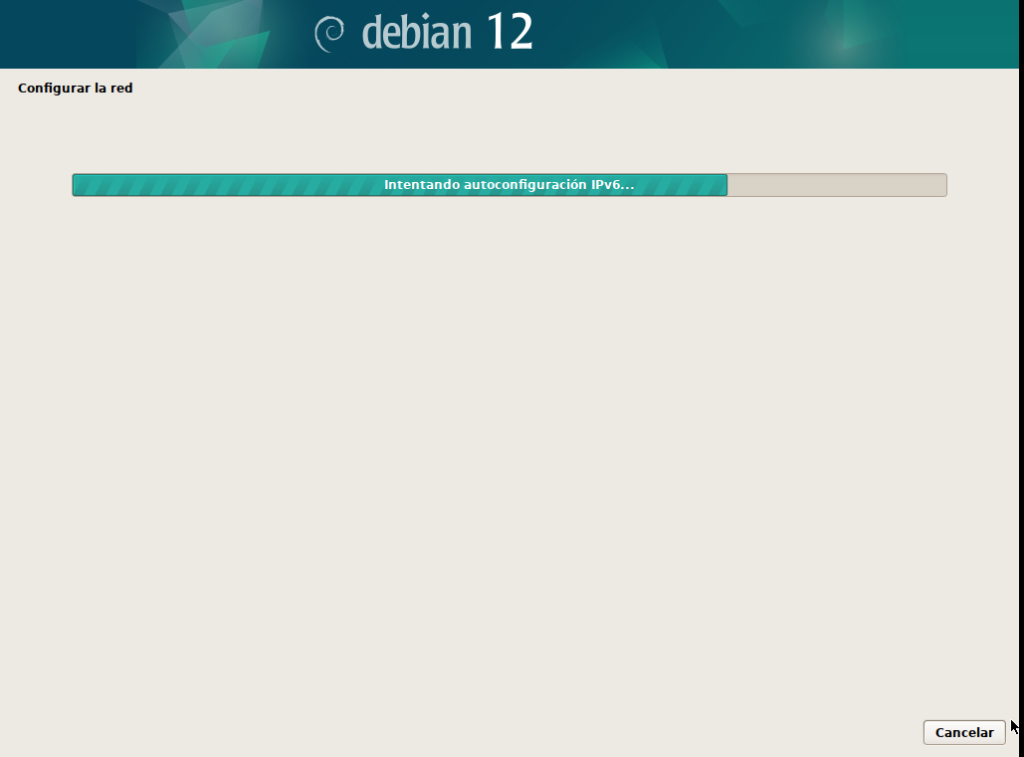
The next step is to configure the network, for which we can wait a few seconds and the installation program will try to do the automatic configuration using DHCP. Otherwise you will have to specify the data corresponding to the network where you are located, which the installation wizard will request.
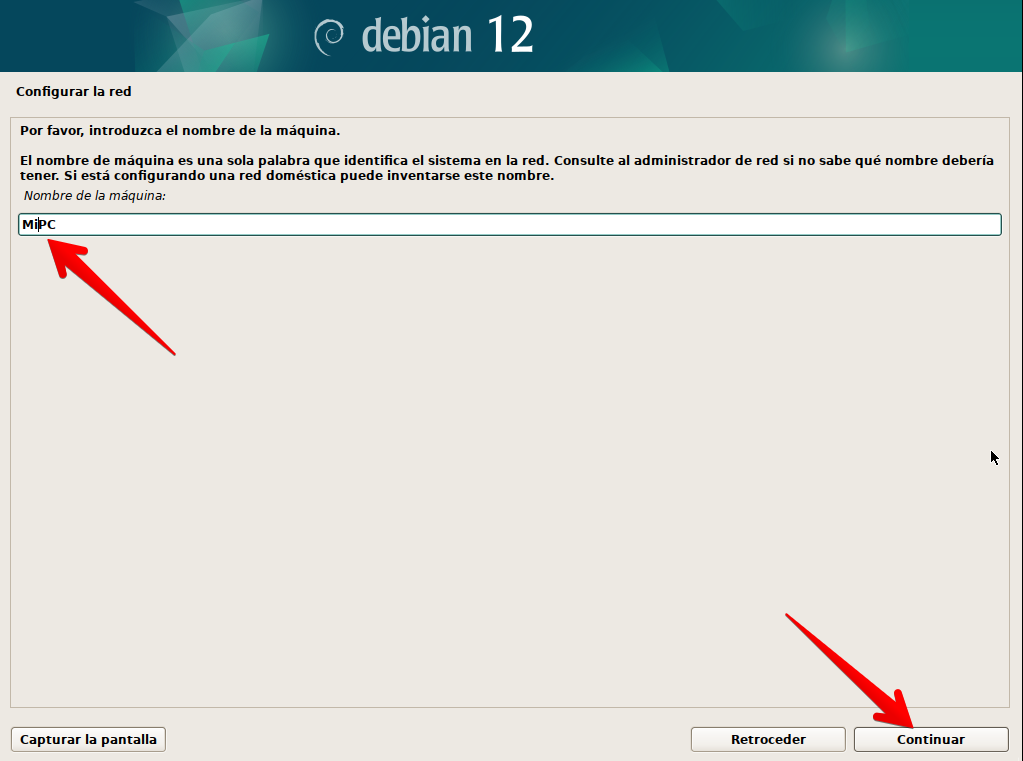
The next step is to establish the name of the equipment we are installing, for which we write the desired name in the edit box and click continue. Feel free to choose whatever name you want for your PC.
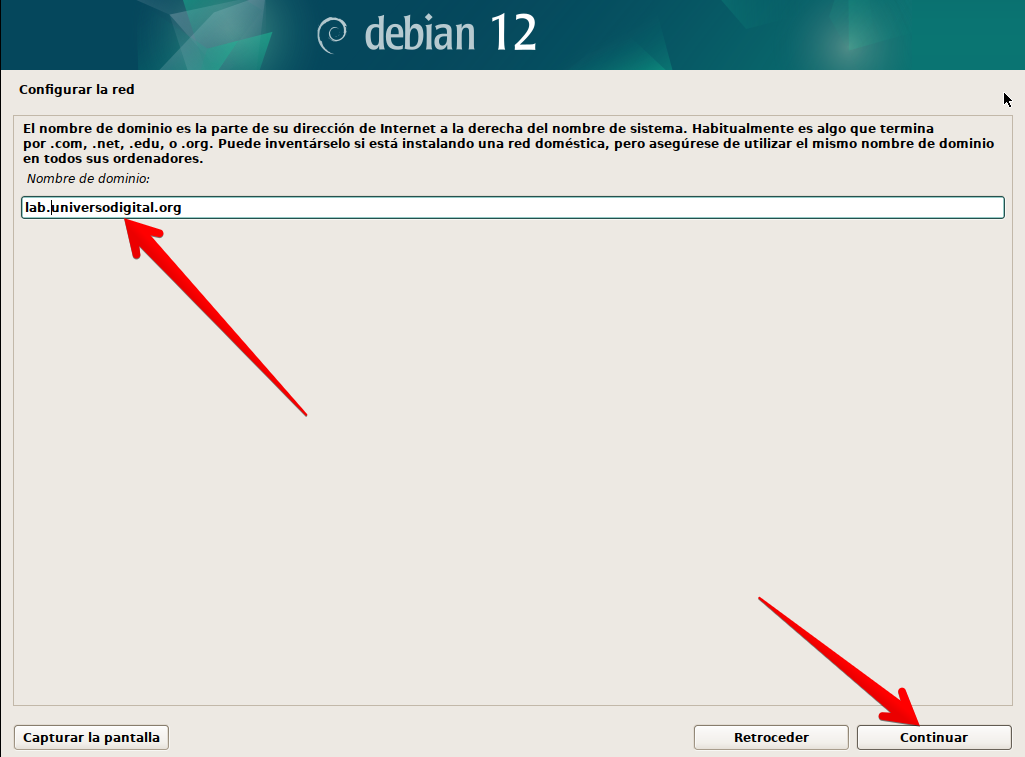
The installation program will then ask for the domain name. We specify the same in the edit box and click continue.
Now it’s time to specify the password for the root user. You must use a strong password, since the root account is the one that has all system administration permissions and must be protected with a strong password. Once the password has been written and confirmed, we click on the continue button.

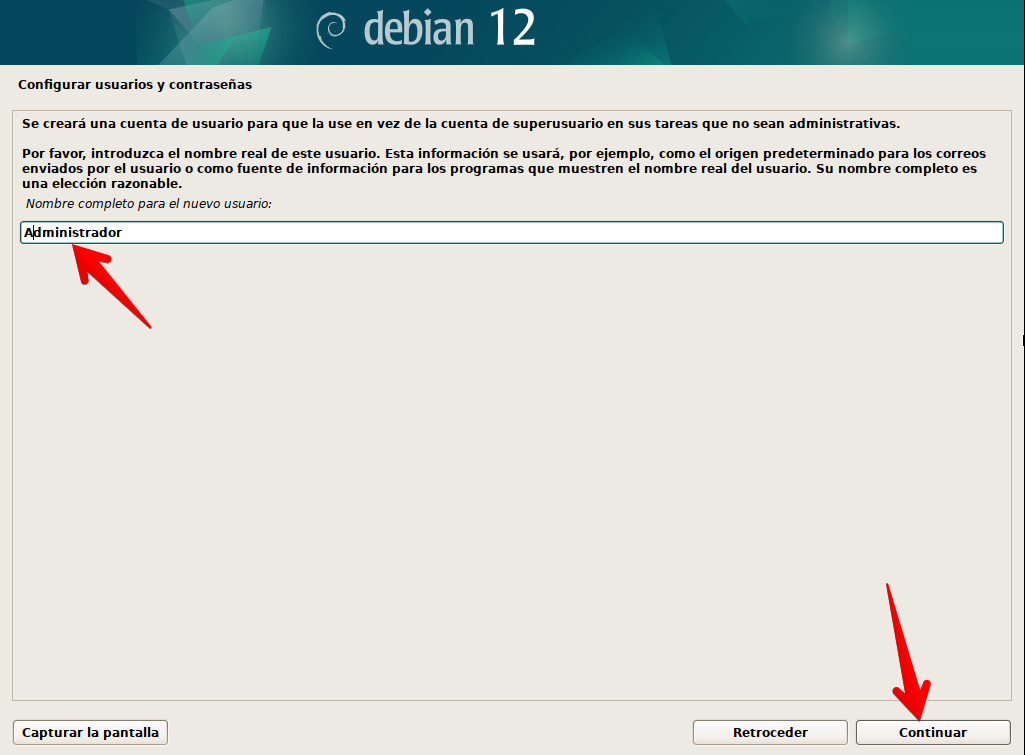
Now it’s time to specify the full name of the user who will use the device. This is the name that will be displayed, it can be your real full name or how you would like your computer login account to be displayed. Example: Juan Pérez, Pablo Díaz…, in our case we call him “Administrator”, but you can specify the one you want.
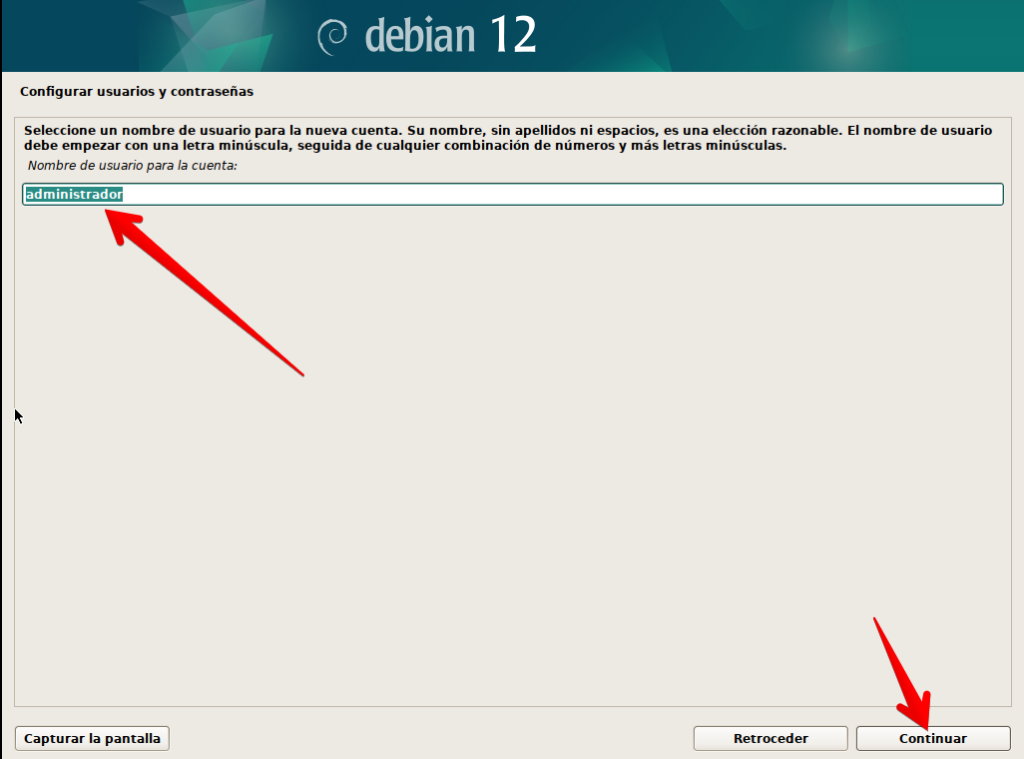
The next information requested is which user will use the previous account to access the system, it does not have to match, but generally we use something similar. Note that by convention users are lowercase.
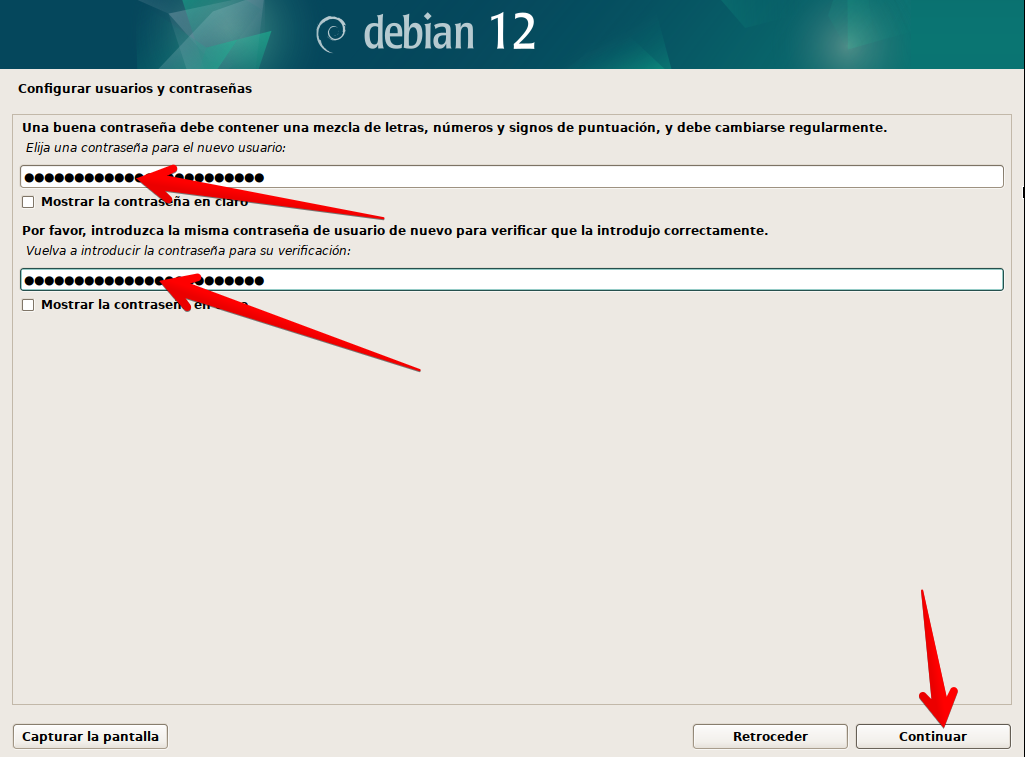
Next we will set the password for our new user as shown in the following image, it is advisable to use a good password.
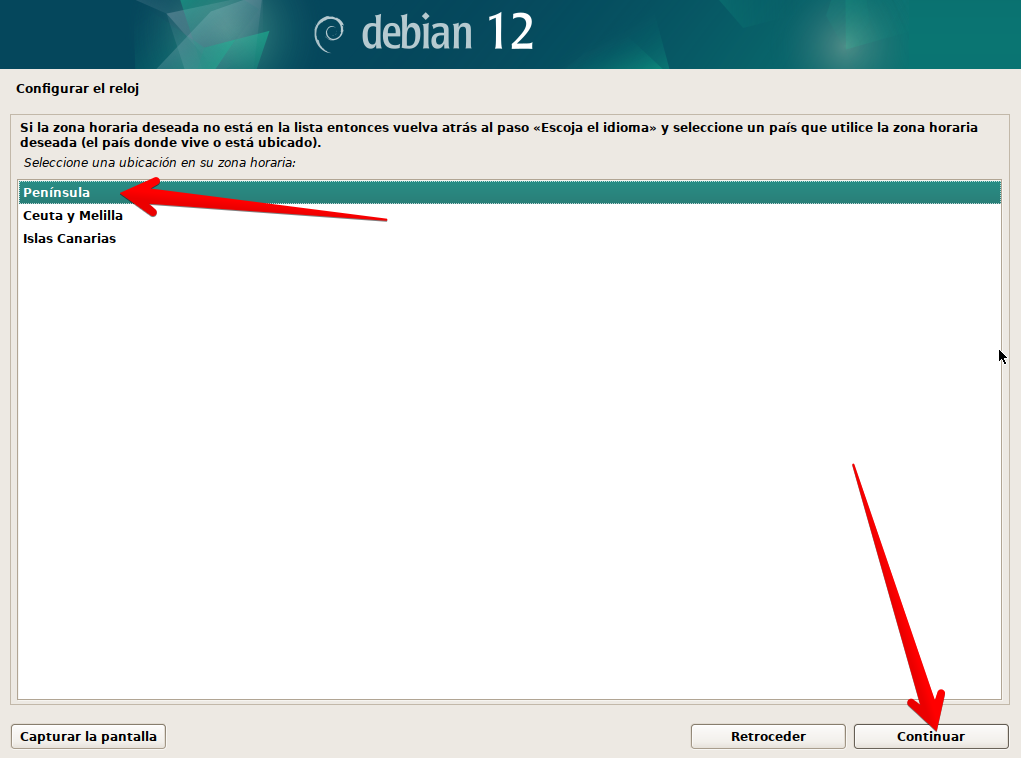
Now let’s choose the time zone. In our case we used the “Peninsula” one as shown in the following image, feel free to choose yours.
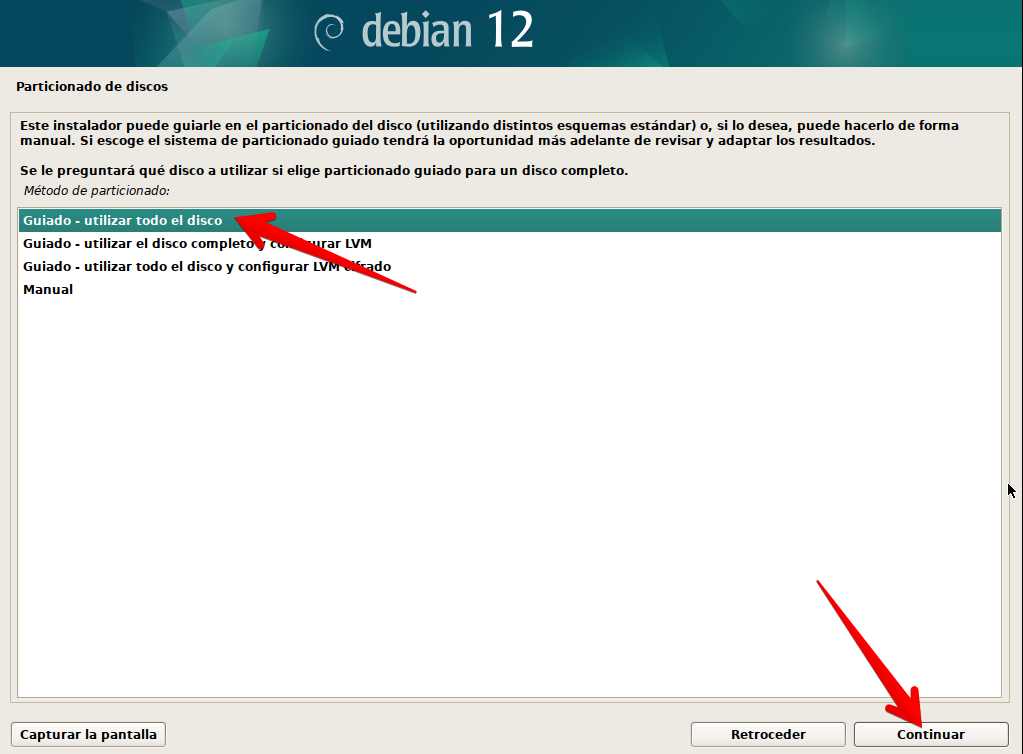
At this point comes the most important part of the installation, which is where we define which storage the system will be installed on. In this case we will do a simple installation. In later articles we will address other more advanced topics regarding that, so we will select the “Guided – use the entire disk” mode. It is important to emphasize that this will erase all partitions and information on the disk that will be selected in the next step.
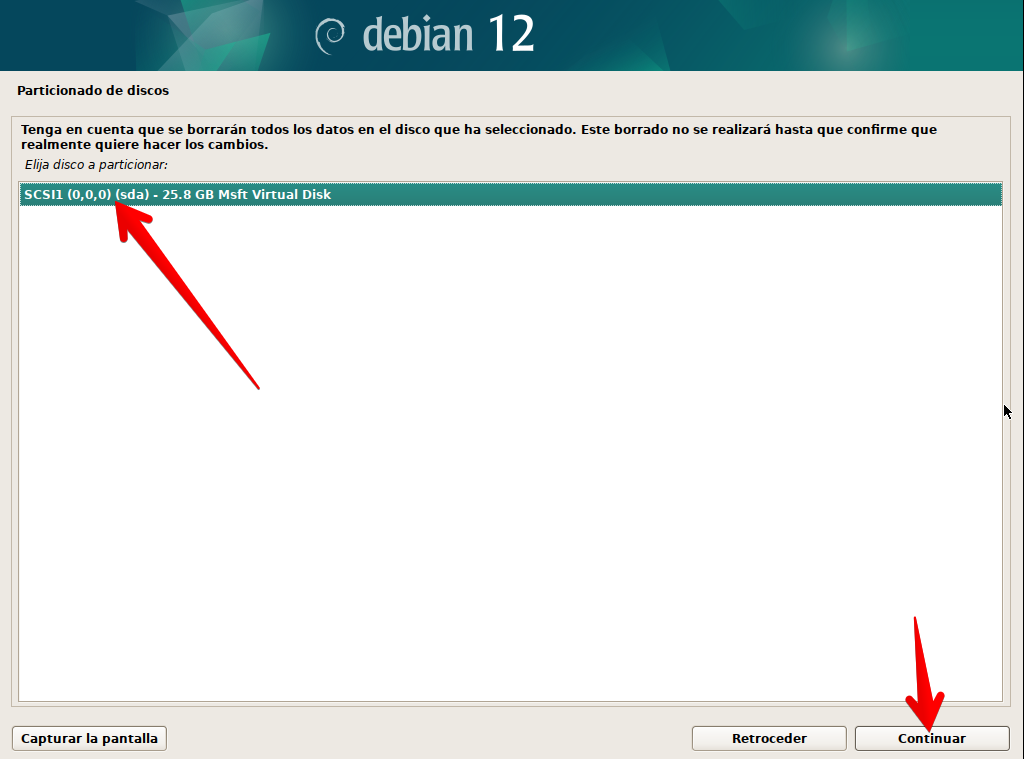
Now we select the disk where the partitions will be made and click continue
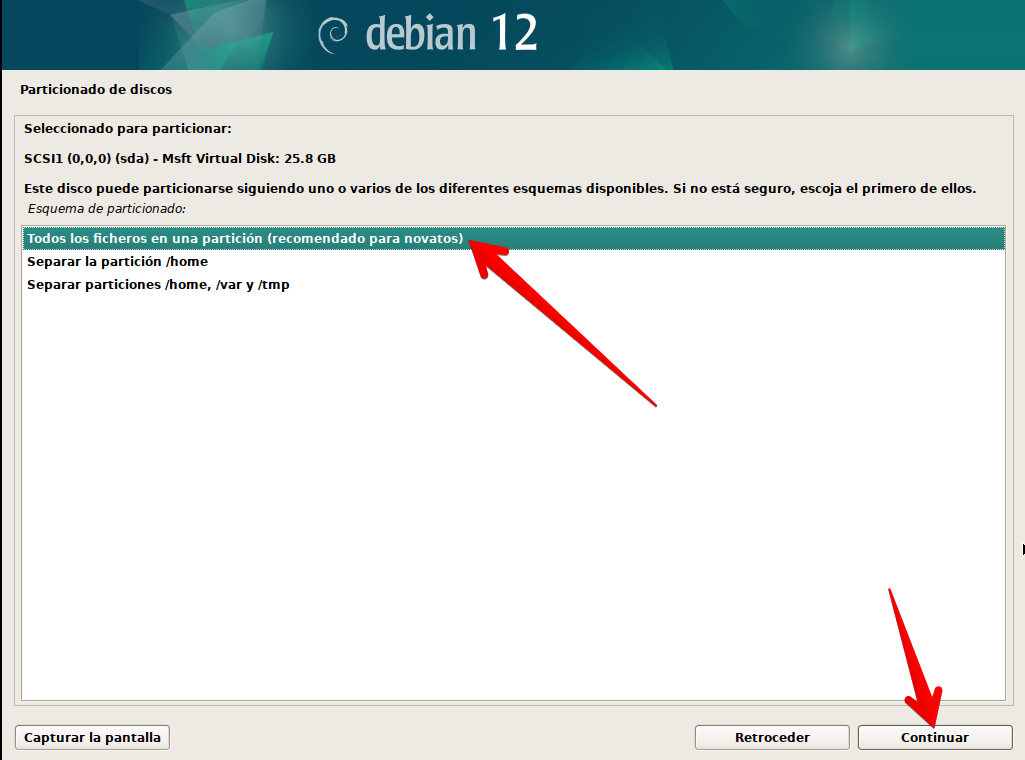
In this initial guide, we recommend choosing the “All files in one partition” option, this is also a topic that will be covered in later articles.
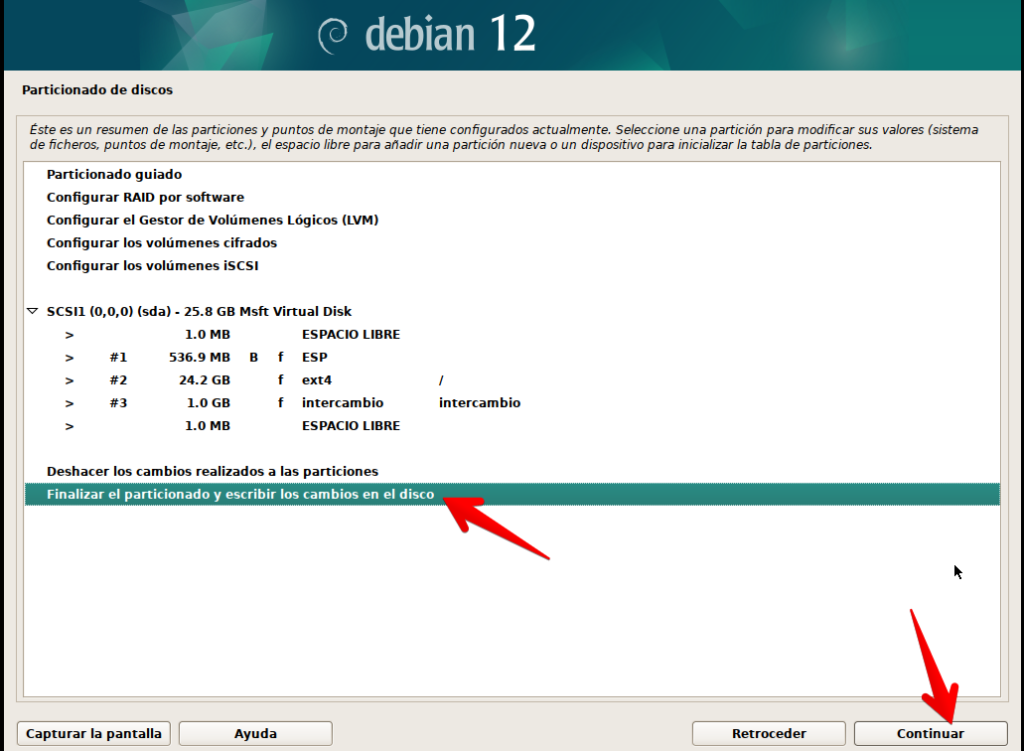
Next, we will be shown the list of partitions that the installer will create: a small one that will be used as a boot EFI partition, another larger one that will be used as full system storage and another small one that will be used as a swap area. Then, we select “Finish partitioning and write changes to disk” and click continue
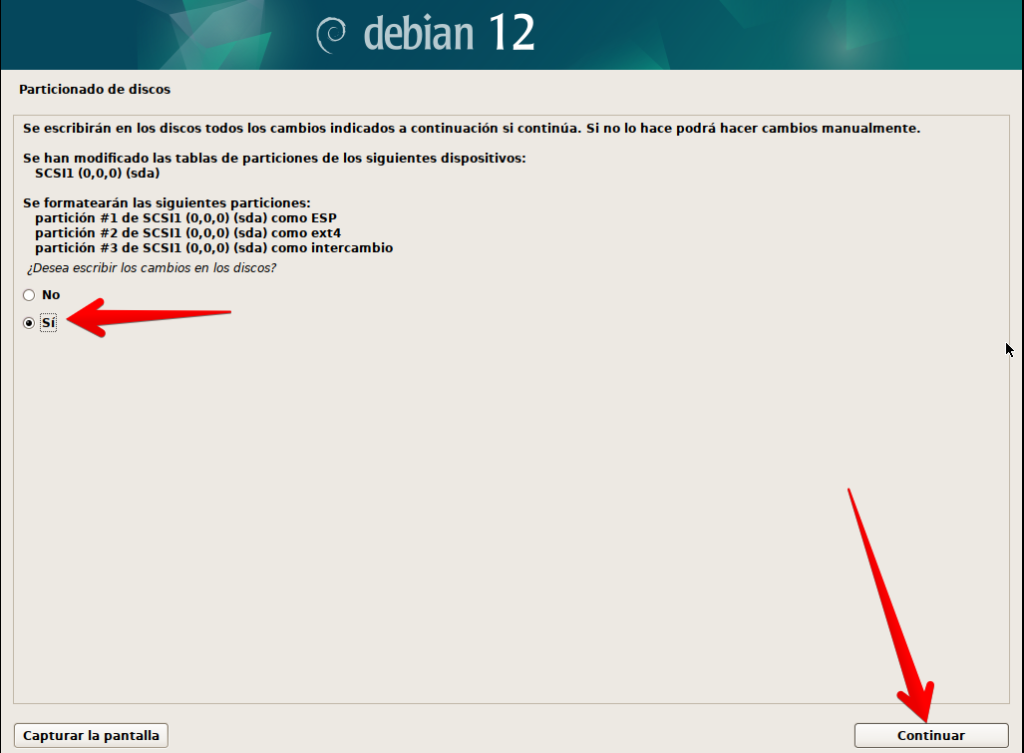
We confirm so that the changes are applied and continue.
At this point we have to wait for the base system to be installed.
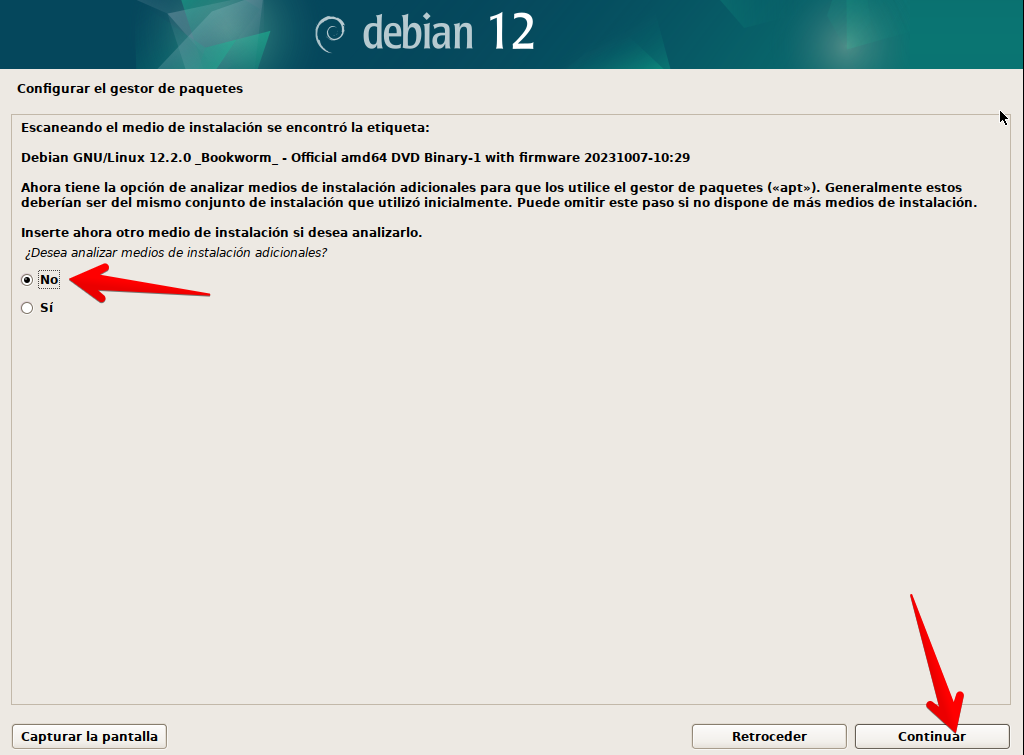
Once the previous step is completed, we could analyze other installation media, but in this case we will select no.
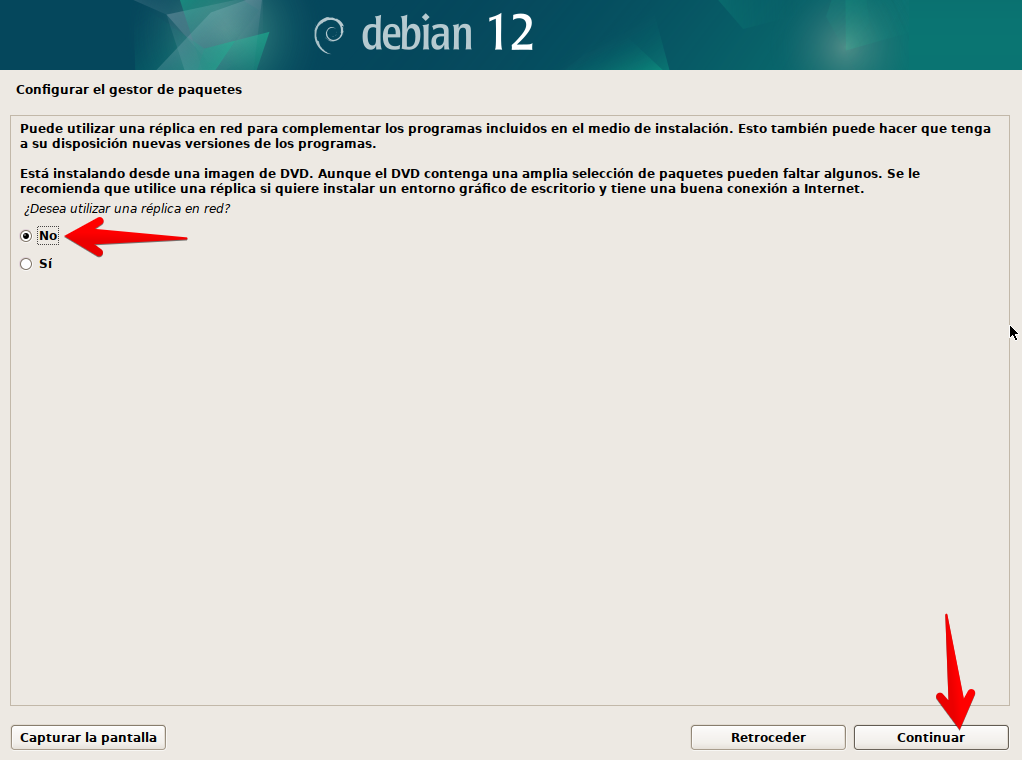
It will also ask us for a network replica which we could select if we are installing the system and we have an internet connection in it. If not, we simply select no and continue.
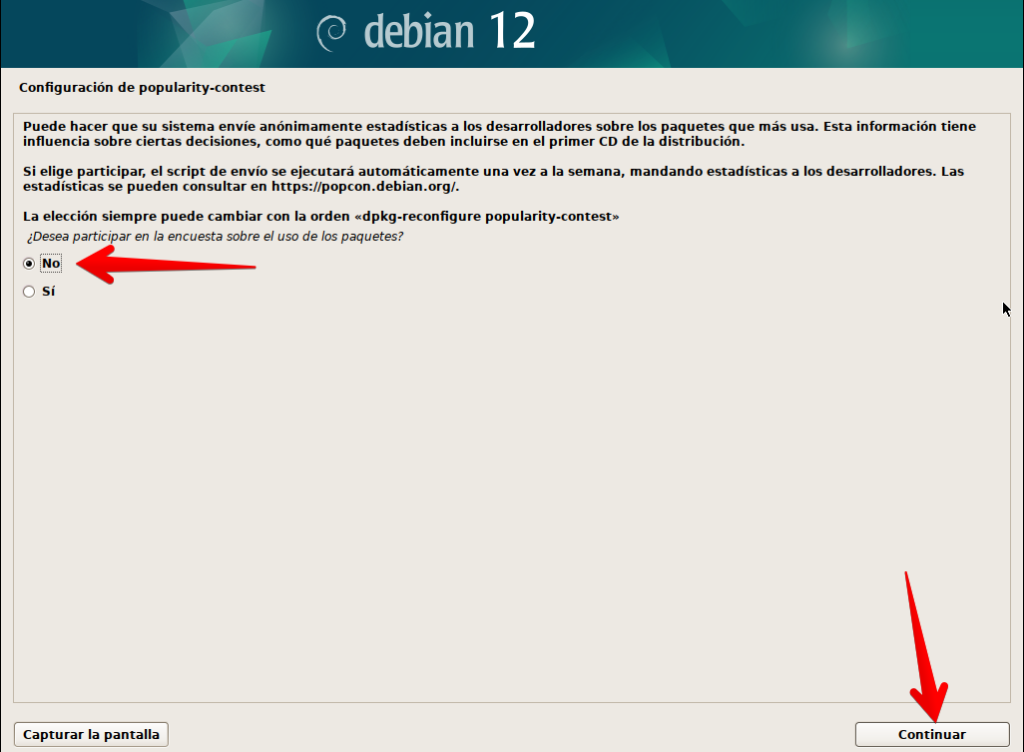
Here we can choose if we want to contribute and send usage statistics for software packages, this is up to you, in our case we will select no.
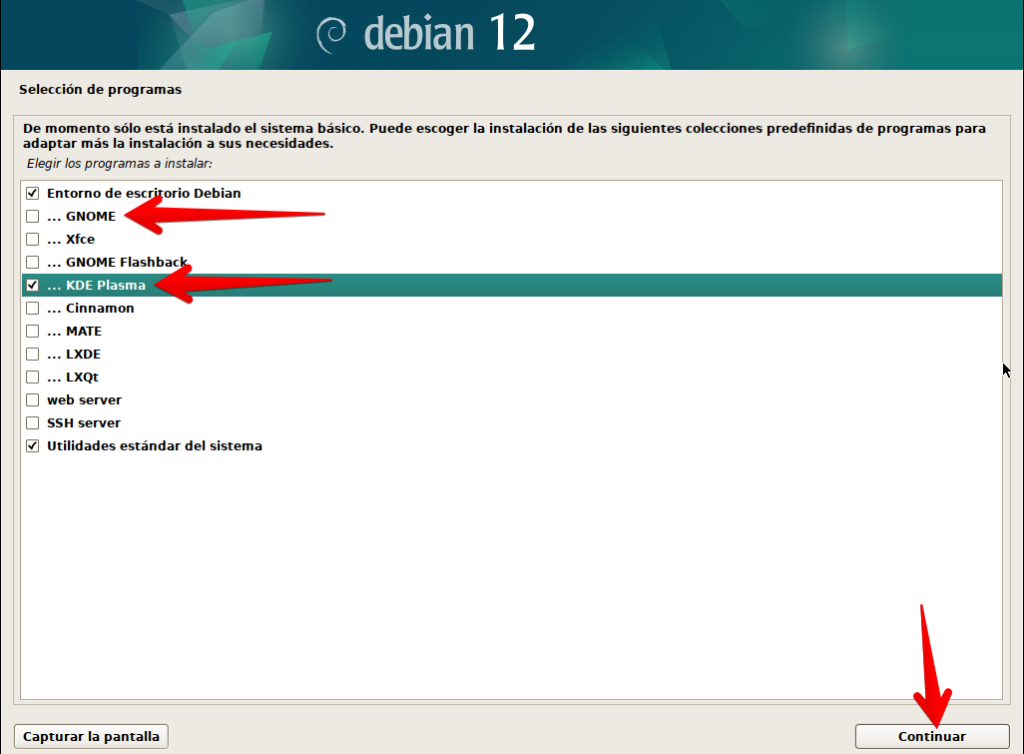
If you have come this far, the installation of the base system has already been completed, now we have to select what additional software we will use. In this case we verify that the “Debian Desktop Environment” option is checked, we uncheck GNOME and we are going to select “KDE Plasma”. Additionally, we will see that the last option that says “Standard system utilities” is checked so that the necessary basic commands are included.
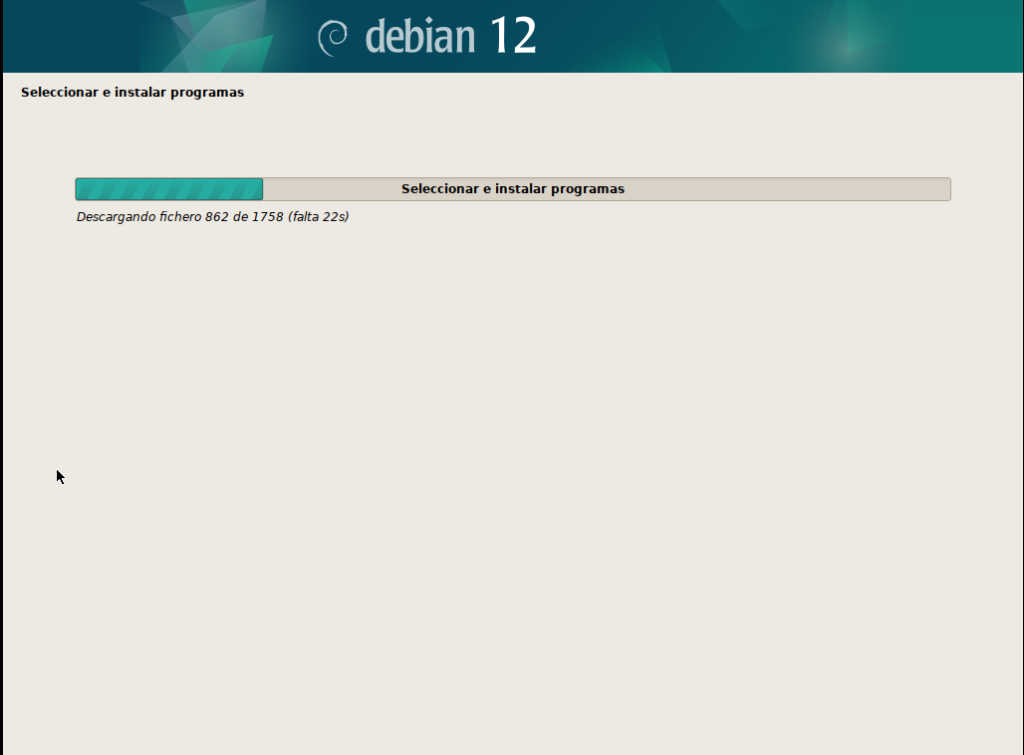
Now there is only a little left during the installation process while a screen like the following is displayed
Once the installation is complete, a screen like the following will be displayed
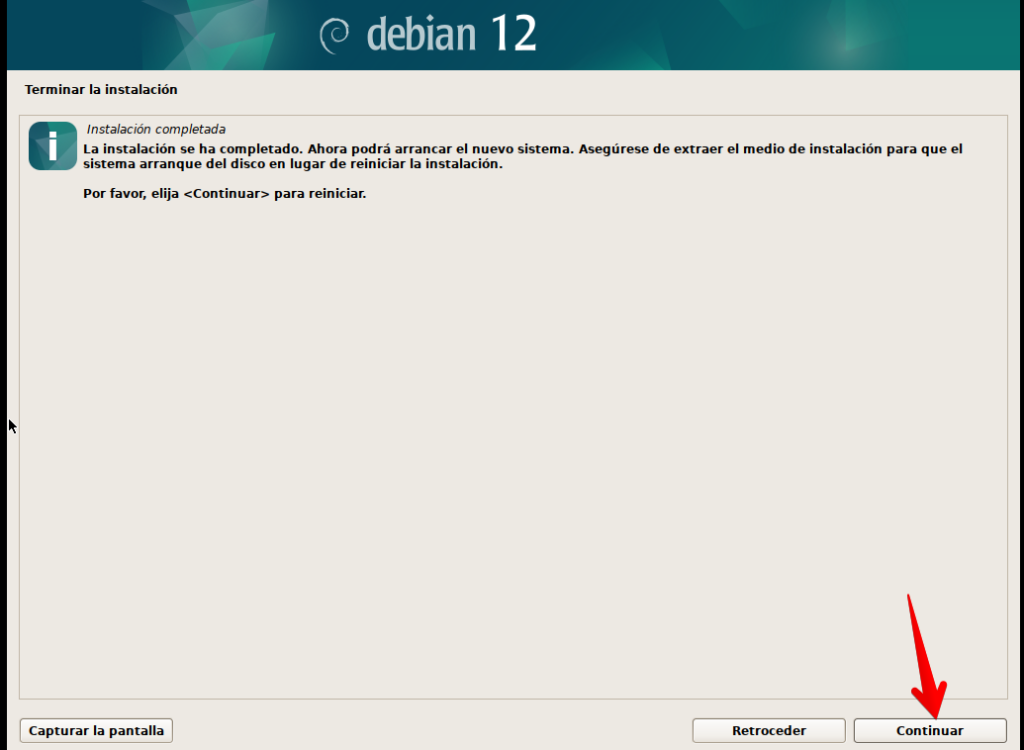
Congratulations! You have now completed the installation of your Debian 12 operating system with KDE desktop environment. Now we proceed to remove the installation media and let the system boot for the first time.
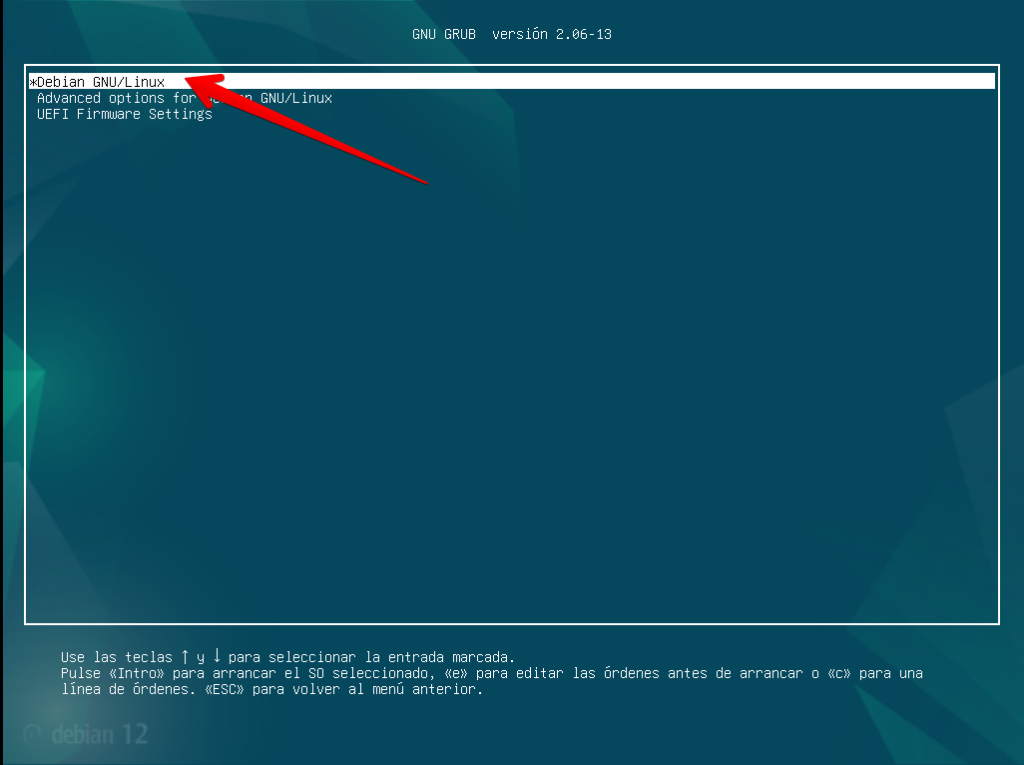
Below is the boot menu of the operating system, which will start the first option automatically in a few seconds
Once the system loads, this screen appears in which we can change the desktop session manager, which by default is selected as Wayland.
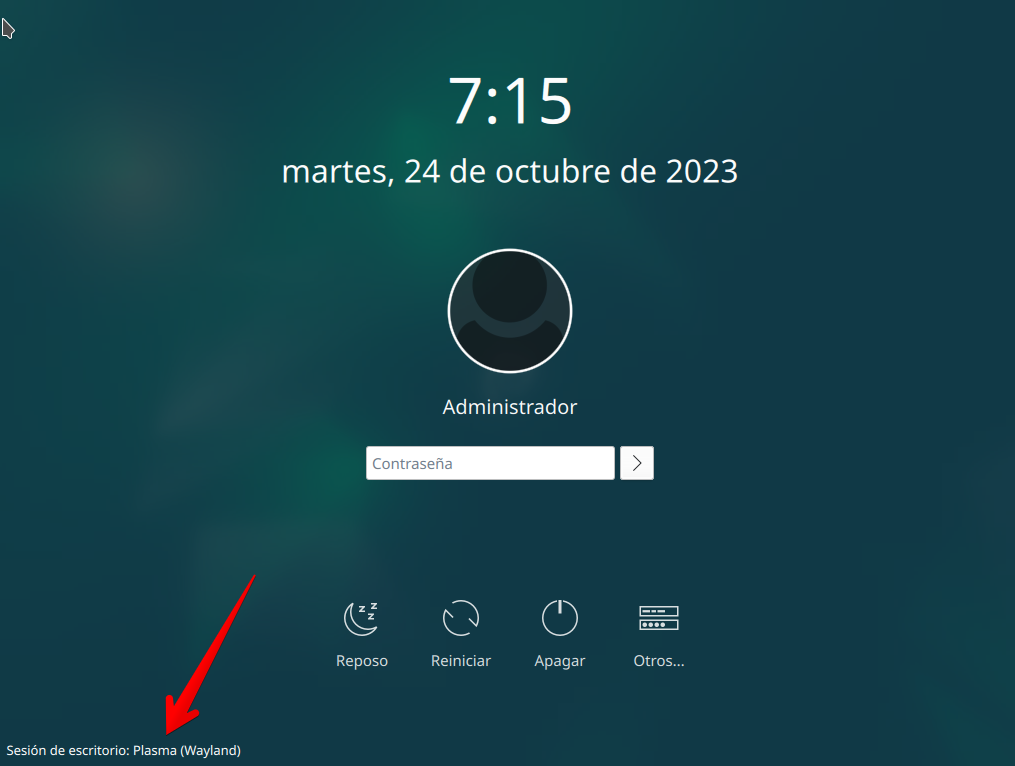
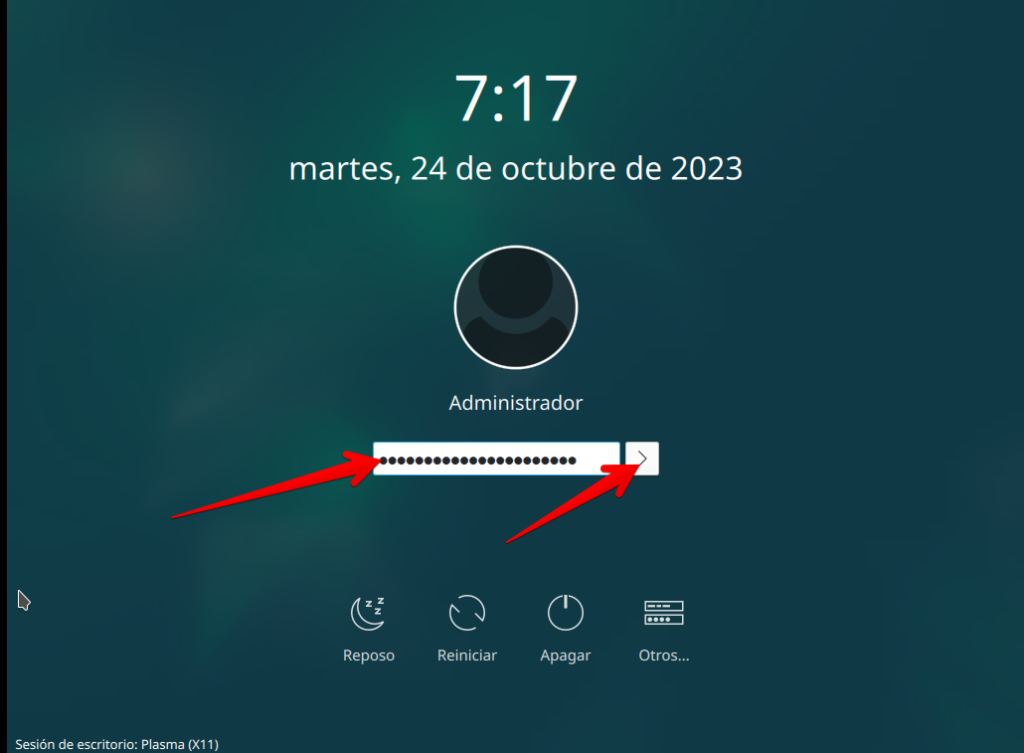
We will change it to X11, as shown in the following image. This is not mandatory, but it will allow us a more fluid user experience on most computers

Once the change is made, we have to enter the password of the user that we created during the installation and click on the button or press enter.
If the password is correct, the session loading screen should appear, as shown in the following image. Be careful, it is not the most beautiful, but that is where the advantage of KDE is, we can change it like all the previous ones.

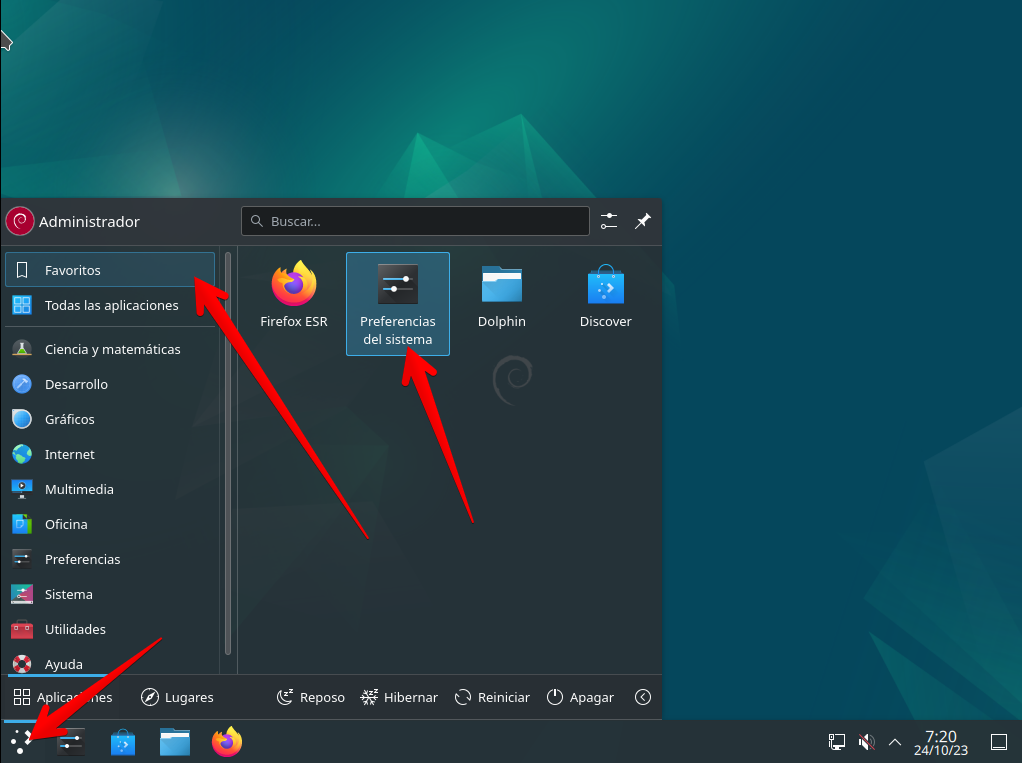
Once the system fully loads, it shows a desktop like the following, in which we can see elements very similar to a Microsoft Windows desktop. This even includes a secondary menu like the one shown below

By displaying the main menu we can see the following options
In the preferences window we can make all the adjustments we want both in the appearance and behavior of the system. For example, in the following image the appearance option is selected and we can see some global themes installed by default. We could also obtain new global themes, this option will require our team to be connected to the internet.
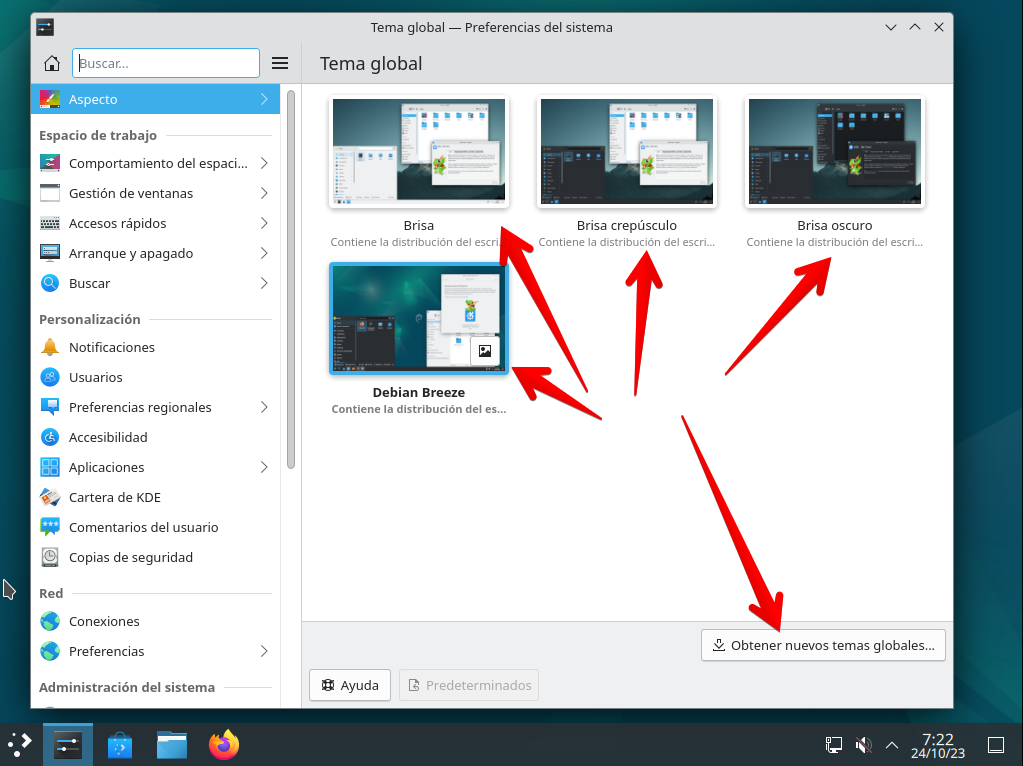
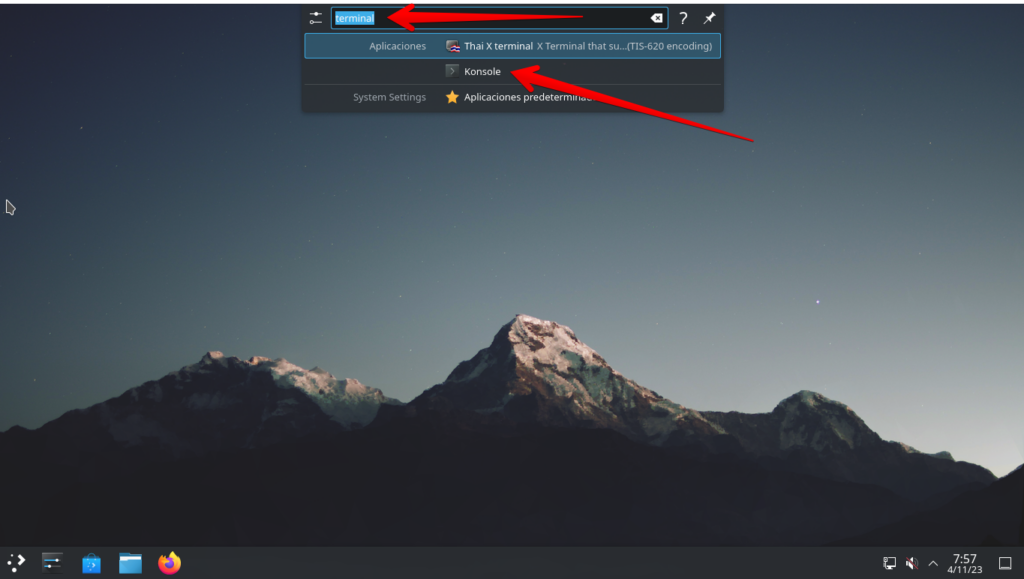
This way you can customize each of the settings to your liking, within the reach of a few clicks. Before continuing, we are going to configure the software sources (repositories), for which we will use the terminal, which we can execute by pressing the Control+F2 keys and typing terminal
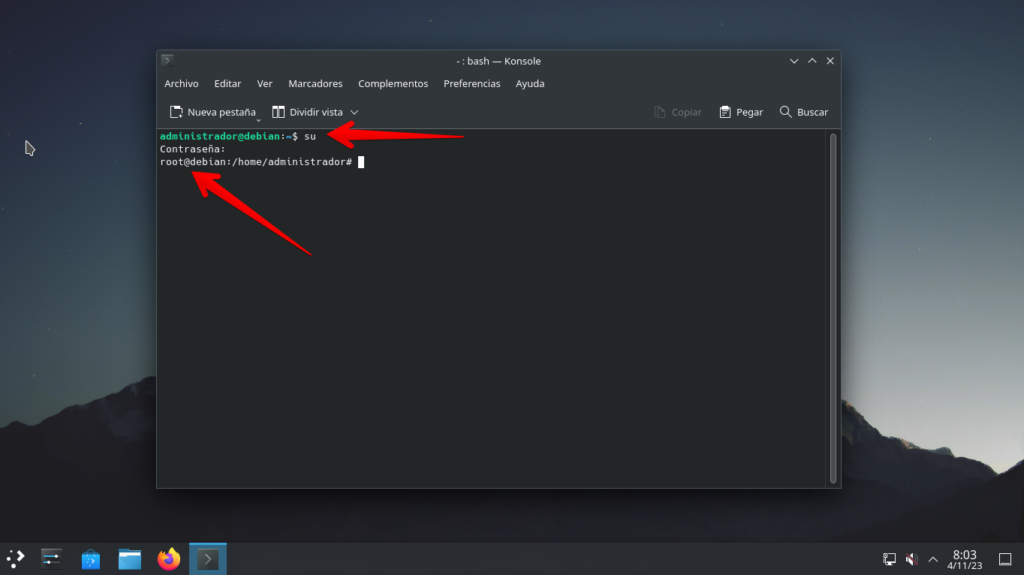
Next, when the terminal window appears, we will write:
su and it will ask us for the password that we specified for the root user when installing the system. Since we are going to make a couple of global changes we need to do this as the root user. What the su command does is change to the root user as shown in the image below
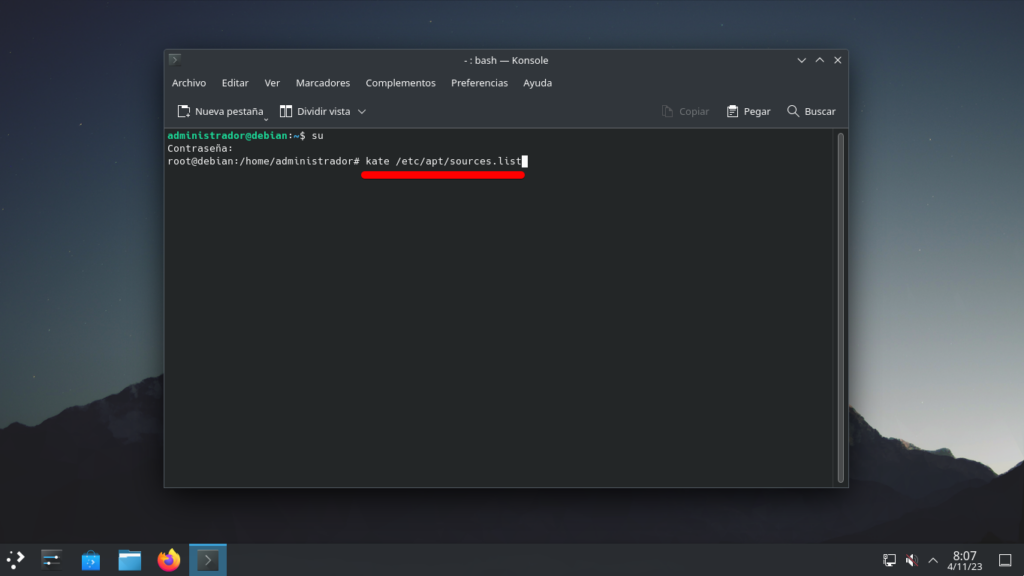
Now we open a text editor to modify the repositories file and specify the path to the file. In the console we write “kate /etc/apt/sources.list” as shown in the image and press enter
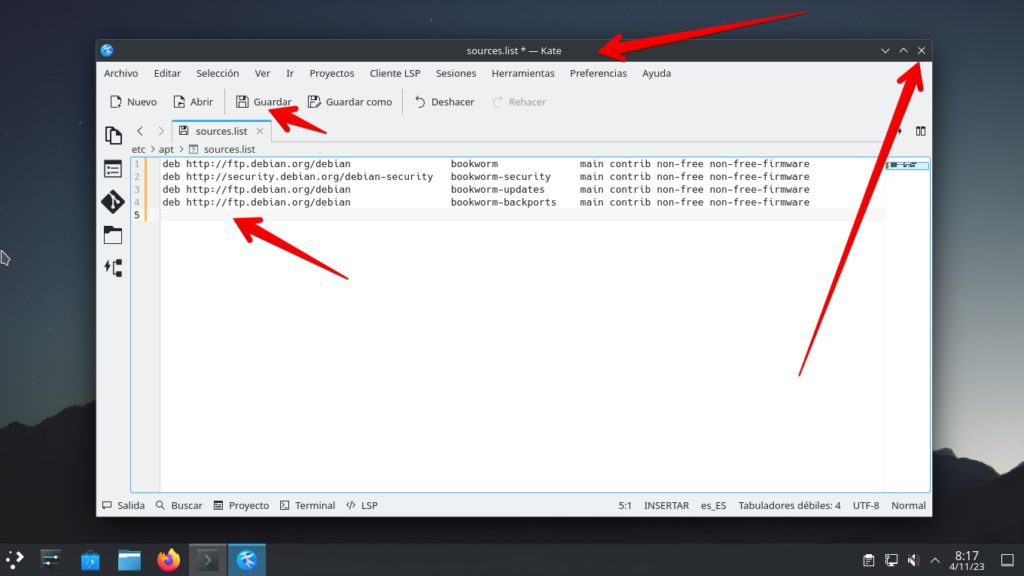
If everything has gone well, a new window will appear, which is the kate text editor (kde text editor). In it we delete all the content and write the 4 lines of configuration from the official repositories, as shown in the following image, then we click save and close the window.
Software source configuration lines (Repositories)
#======================================================#
# Repositorios Oficiales Internet Debian 12 (Bookworm) #
#======================================================#
deb http://ftp.debian.org/debian bookworm main contrib non-free non-free-firmware
deb http://security.debian.org/debian-security 	bookworm-security main contrib non-free non-free-firmware
deb http://ftp.debian.org/debian bookworm-updates main contrib non-free non-free-firmware
deb http://ftp.debian.org/debian bookworm-backports main contrib non-free non-free-firmware
If it was saved correctly and the Kate window was closed, we return to the console and write
“apt update” to reload the software sources. If everything has gone well, it should look like the image below.
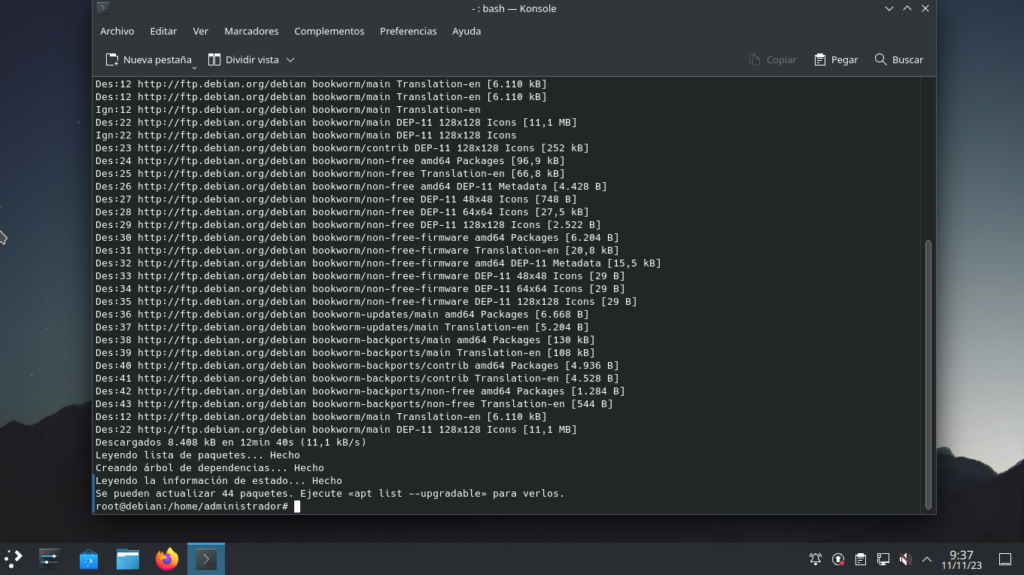
Let’s do a full system update by running the command
“apt full-upgrade -y”
Running this command may take some time depending on how much software needs to be downloaded from the update sources. It is advisable to restart the system once the update process is complete so that in case the kernel is updated, the system starts using the new one.
If you have reached this point you must have seen in detail the steps for installing Debian 12 + KDE in graphical mode. In future posts we will see how to customize it in detail.